Technically, halloween starts on July 5th, which also happens to be my birthday. While I have been in the fall and halloween spirit, I have restrained myself and am just now putting up some halloween decorations around the house.
I wanted to share with you all a few DIY decor items that I created the last couple of weeks. These are all fairly easy and affordable.
Pumpkin Door Hanging
What you’ll need:
- Wooden pumpkin hanging (I purchased mine from Hobby Lobby, it was on sale for $2.99)
- Acrylic paint (in any colors you like) I would recommend at least doing a white base.
- Paintbrushes
- Cup of water and napkins/paper towels
- Clear acrylic sealer
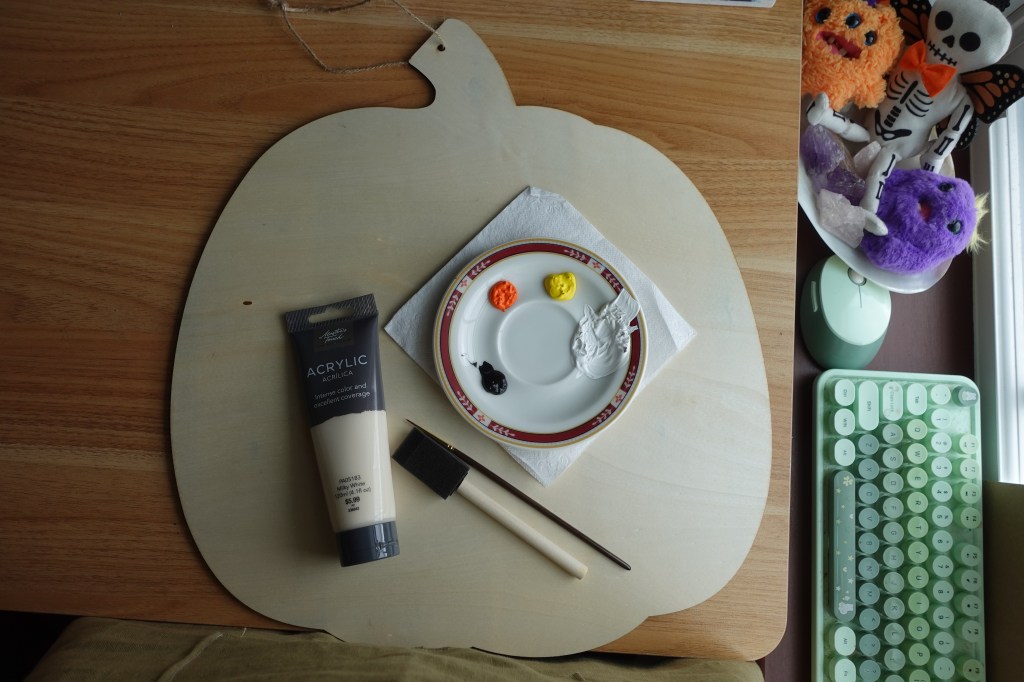
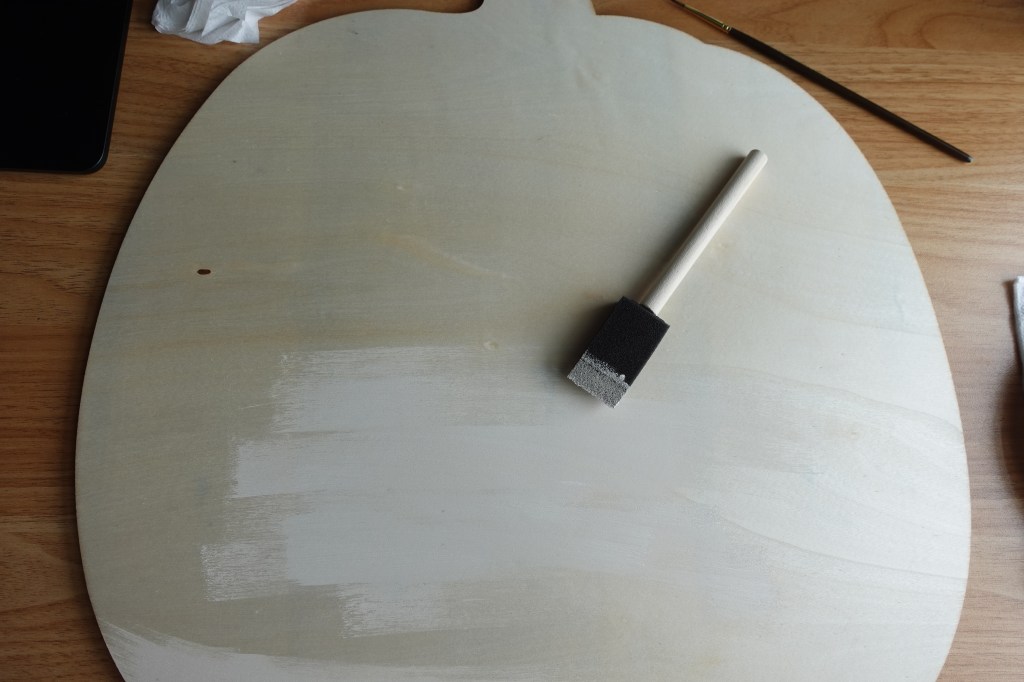
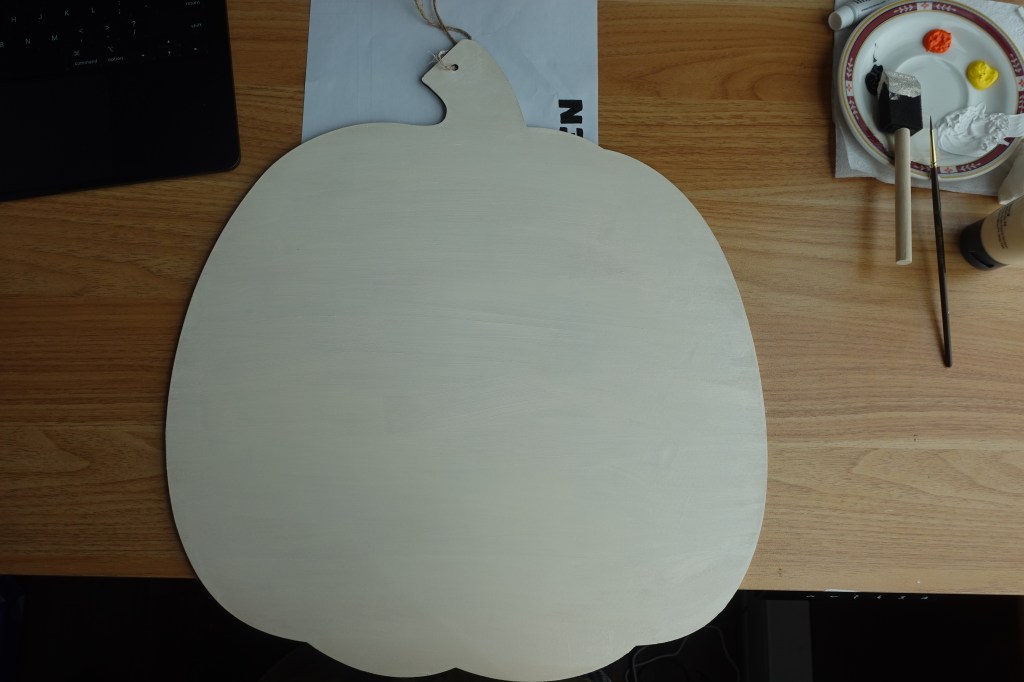
I started with a base of a white acrylic paint I had lying around. I would highly recommend doing this, depending on the wood or material of your pumpkin. Mine had a bit of a bluish hue (?) so putting the white paint down first helped even everything out and create a good base for the orange paint.
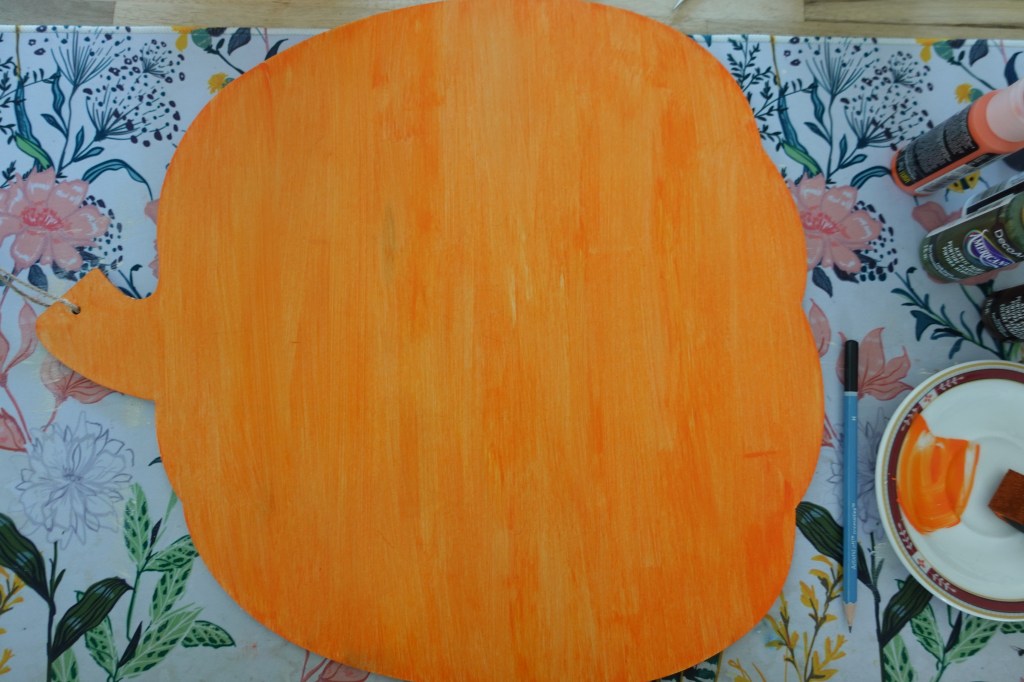
Once the orange paint was all done, I painted on a happy face. I was really aiming for the retro style of pumpkin, it almost reminds me of Over the Garden Wall a bit too. I decided that since our front door has a window, we’d see the back side of the hanging too. So, I painted on a sad pumpkin face on the other side.
Here’s how they came out:
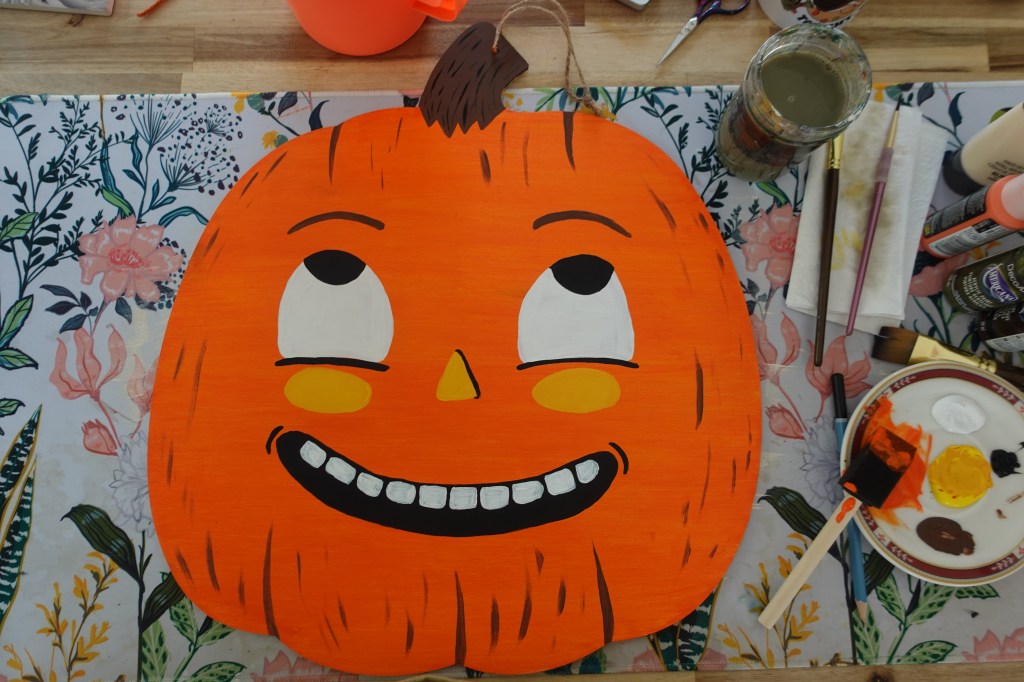
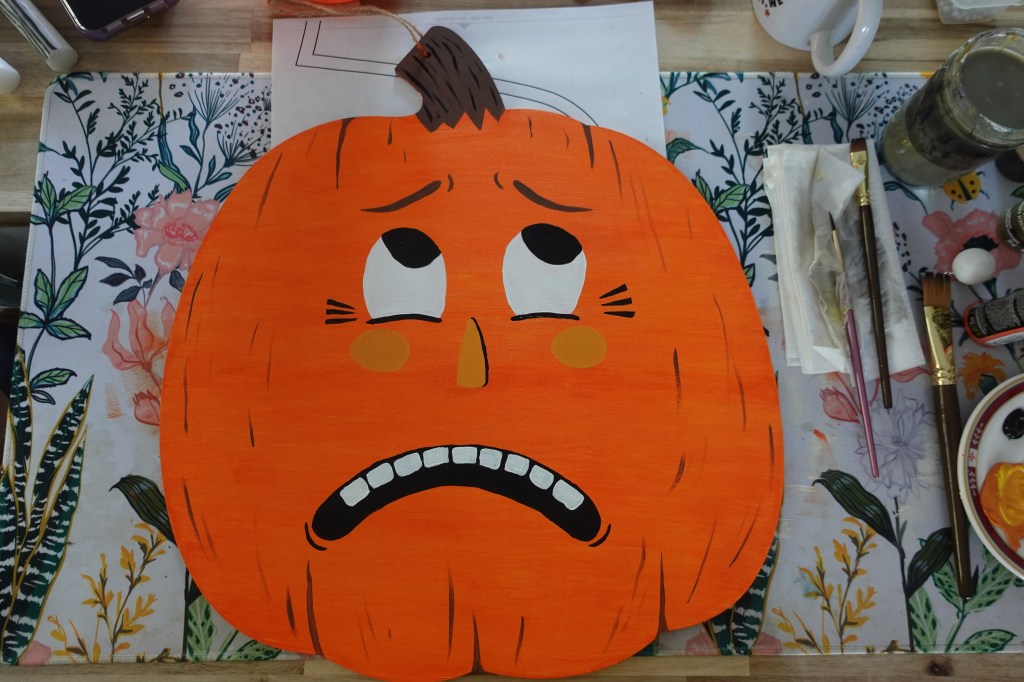
I hadn’t painted anything in a while and this was so much fun to create. Once the paint was dry, I sprayed it with a clear acrylic sealer on both sides, and let it dry overnight. Then it was ready to hang up!
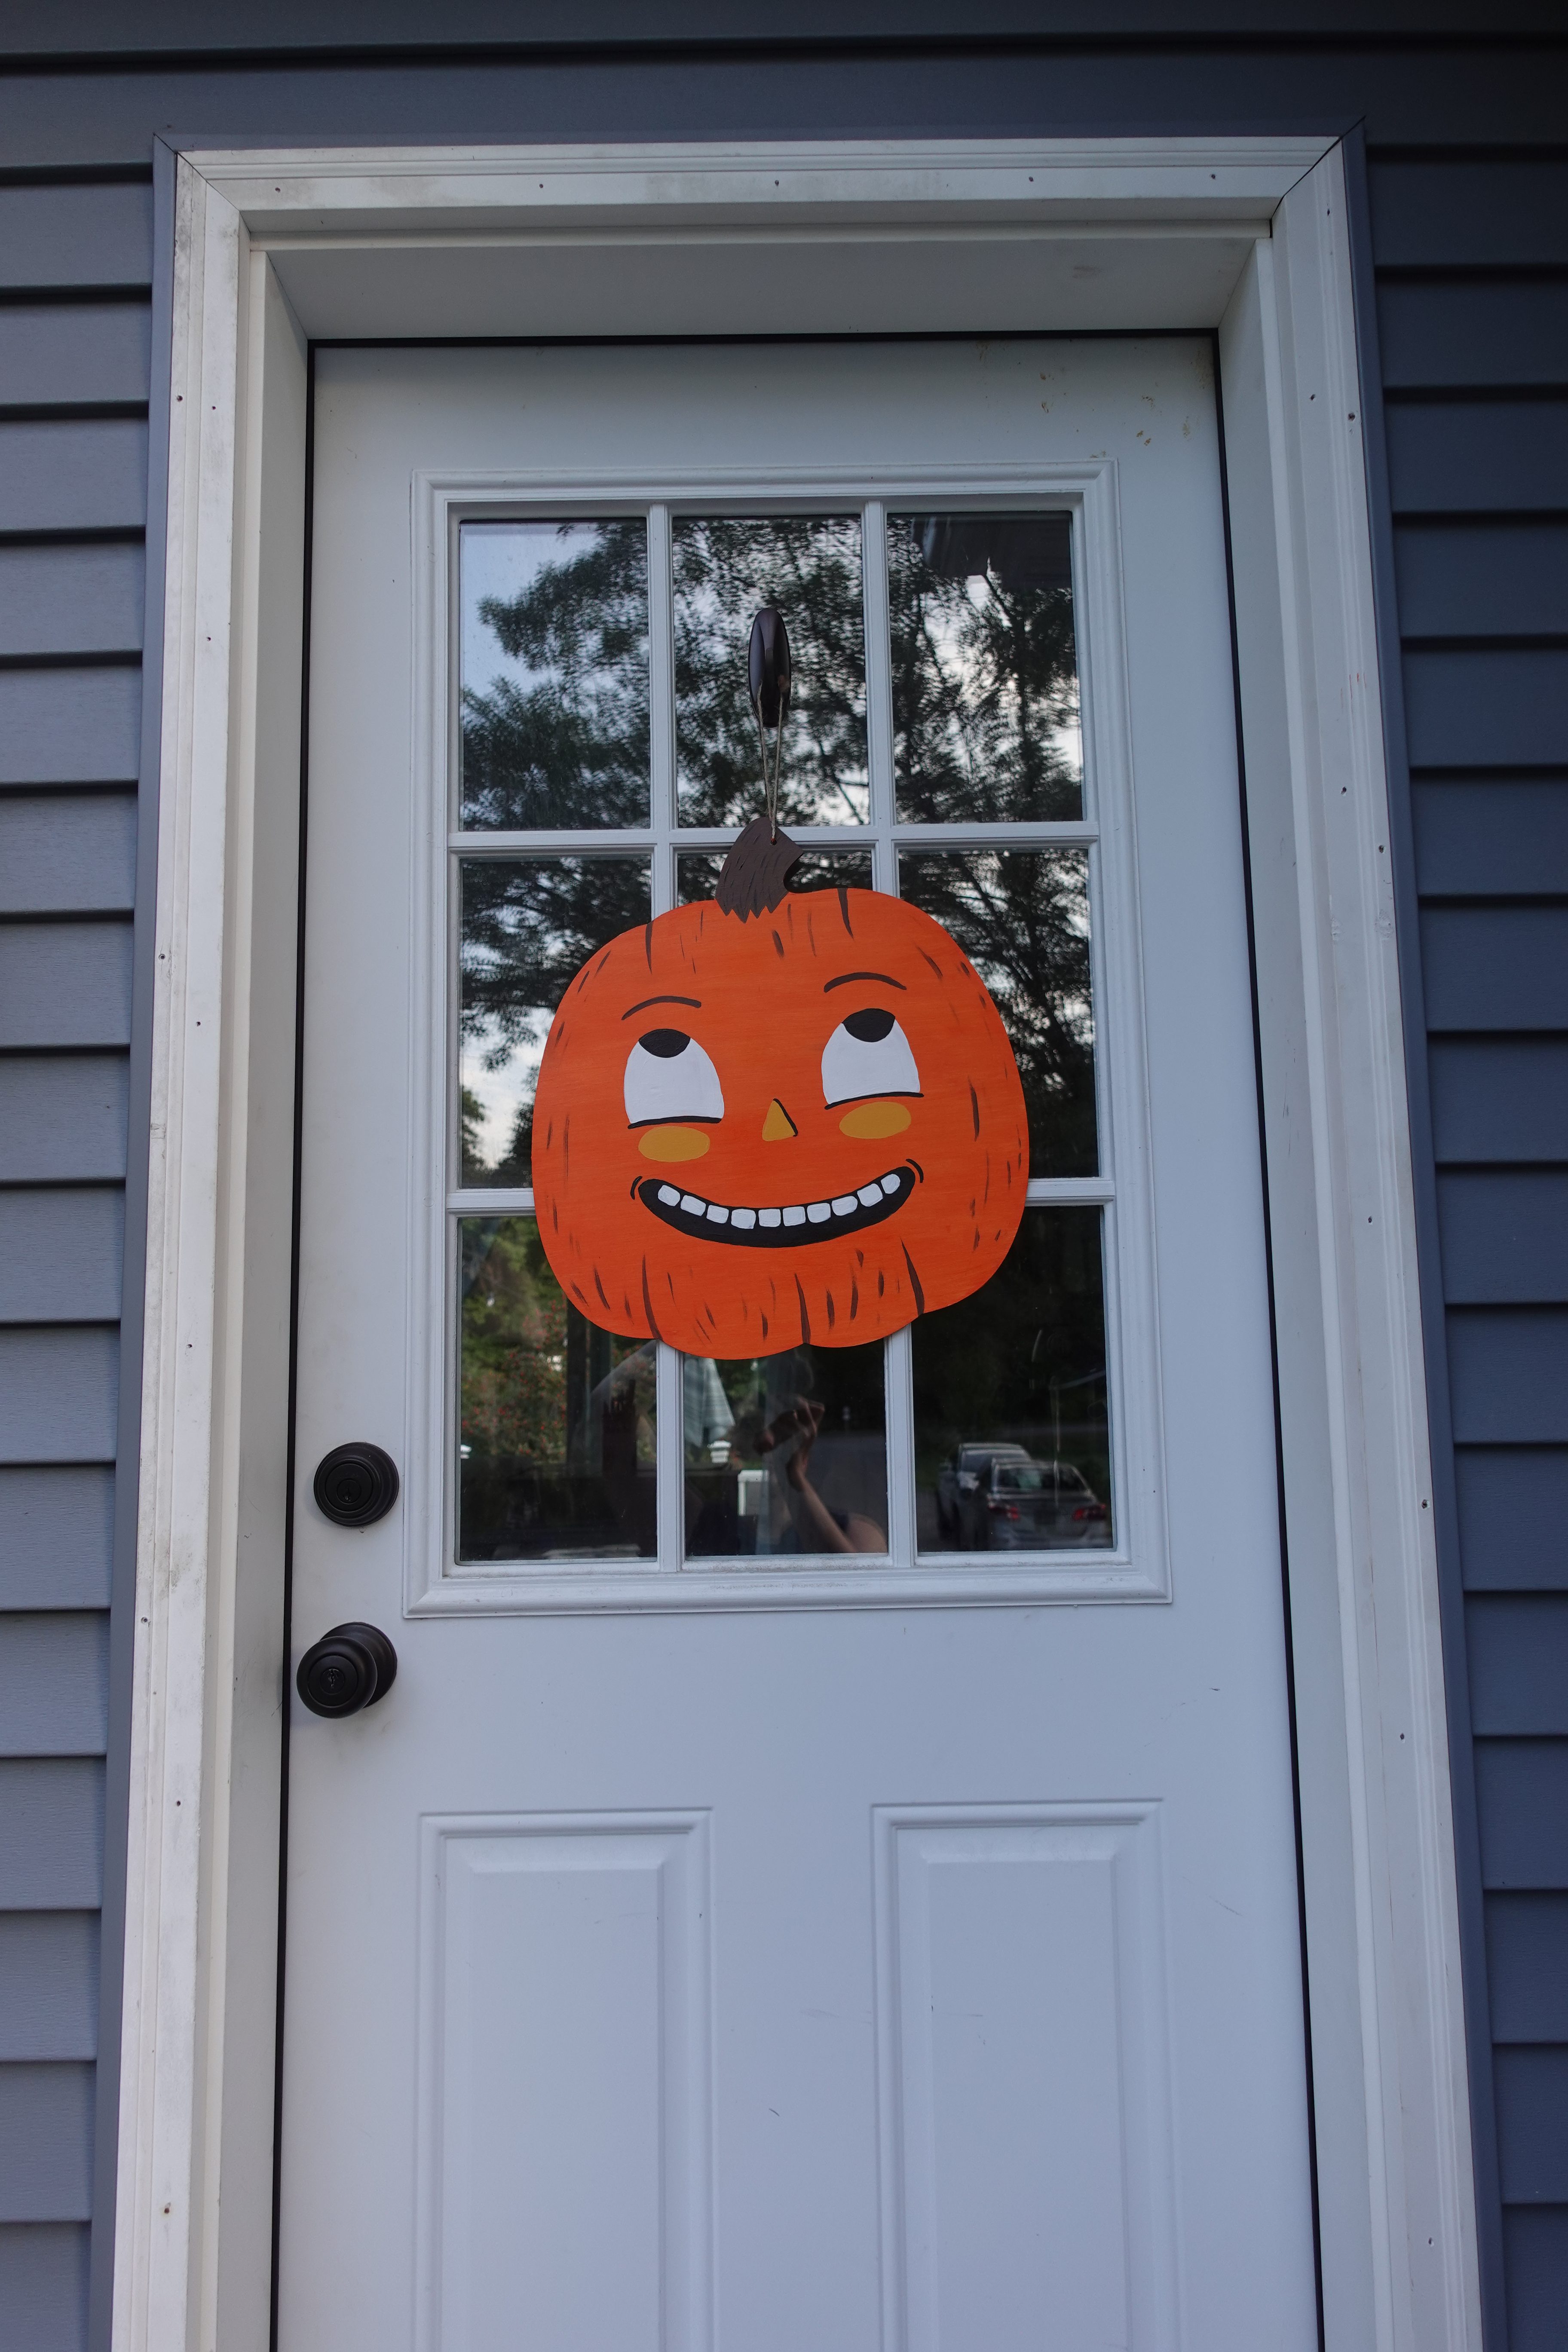
I’d love to add some foliage around it eventually to give it a bit more oomph, like a fall leave wreath or something. But, for starting out with the halloween decor, I think it’s pretty dang cute!!
Crochet Spiderweb Bunting
I came across this crocheted spiderweb bunting on Pinterest a few weeks ago and couldn’t get it out of my head. I knew that I had to make it to hang somewhere in the house. This pattern is by the shop “OfMars” on Etsy. It’s very beginner friendly and I worked this entire project up in less than a weekend.
This also happened to be the second time I had attempted to block acrylic yarn. Recently, I got a handheld steamer, so I ended up using that. I pinned them onto a towel and held the steamer close to the yarn for around 45 secs each and let everything dry for an hour or so.
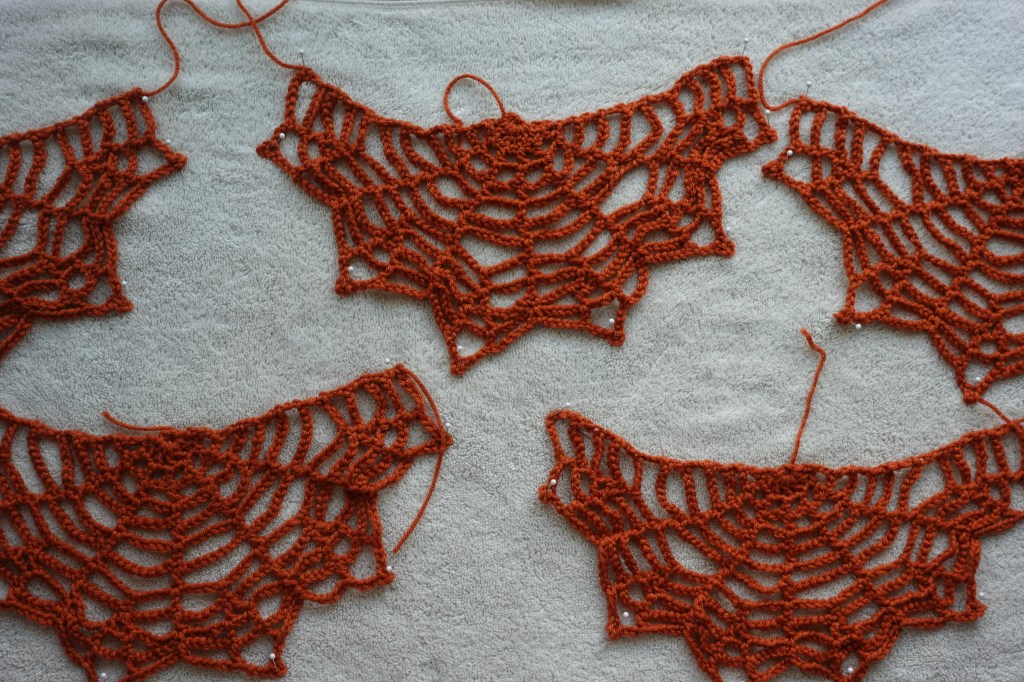
I think this came out really cute and I’ll definitely be making more soon. I’ll show you how I decorated with it below. 🙂
Paper Bat Garland
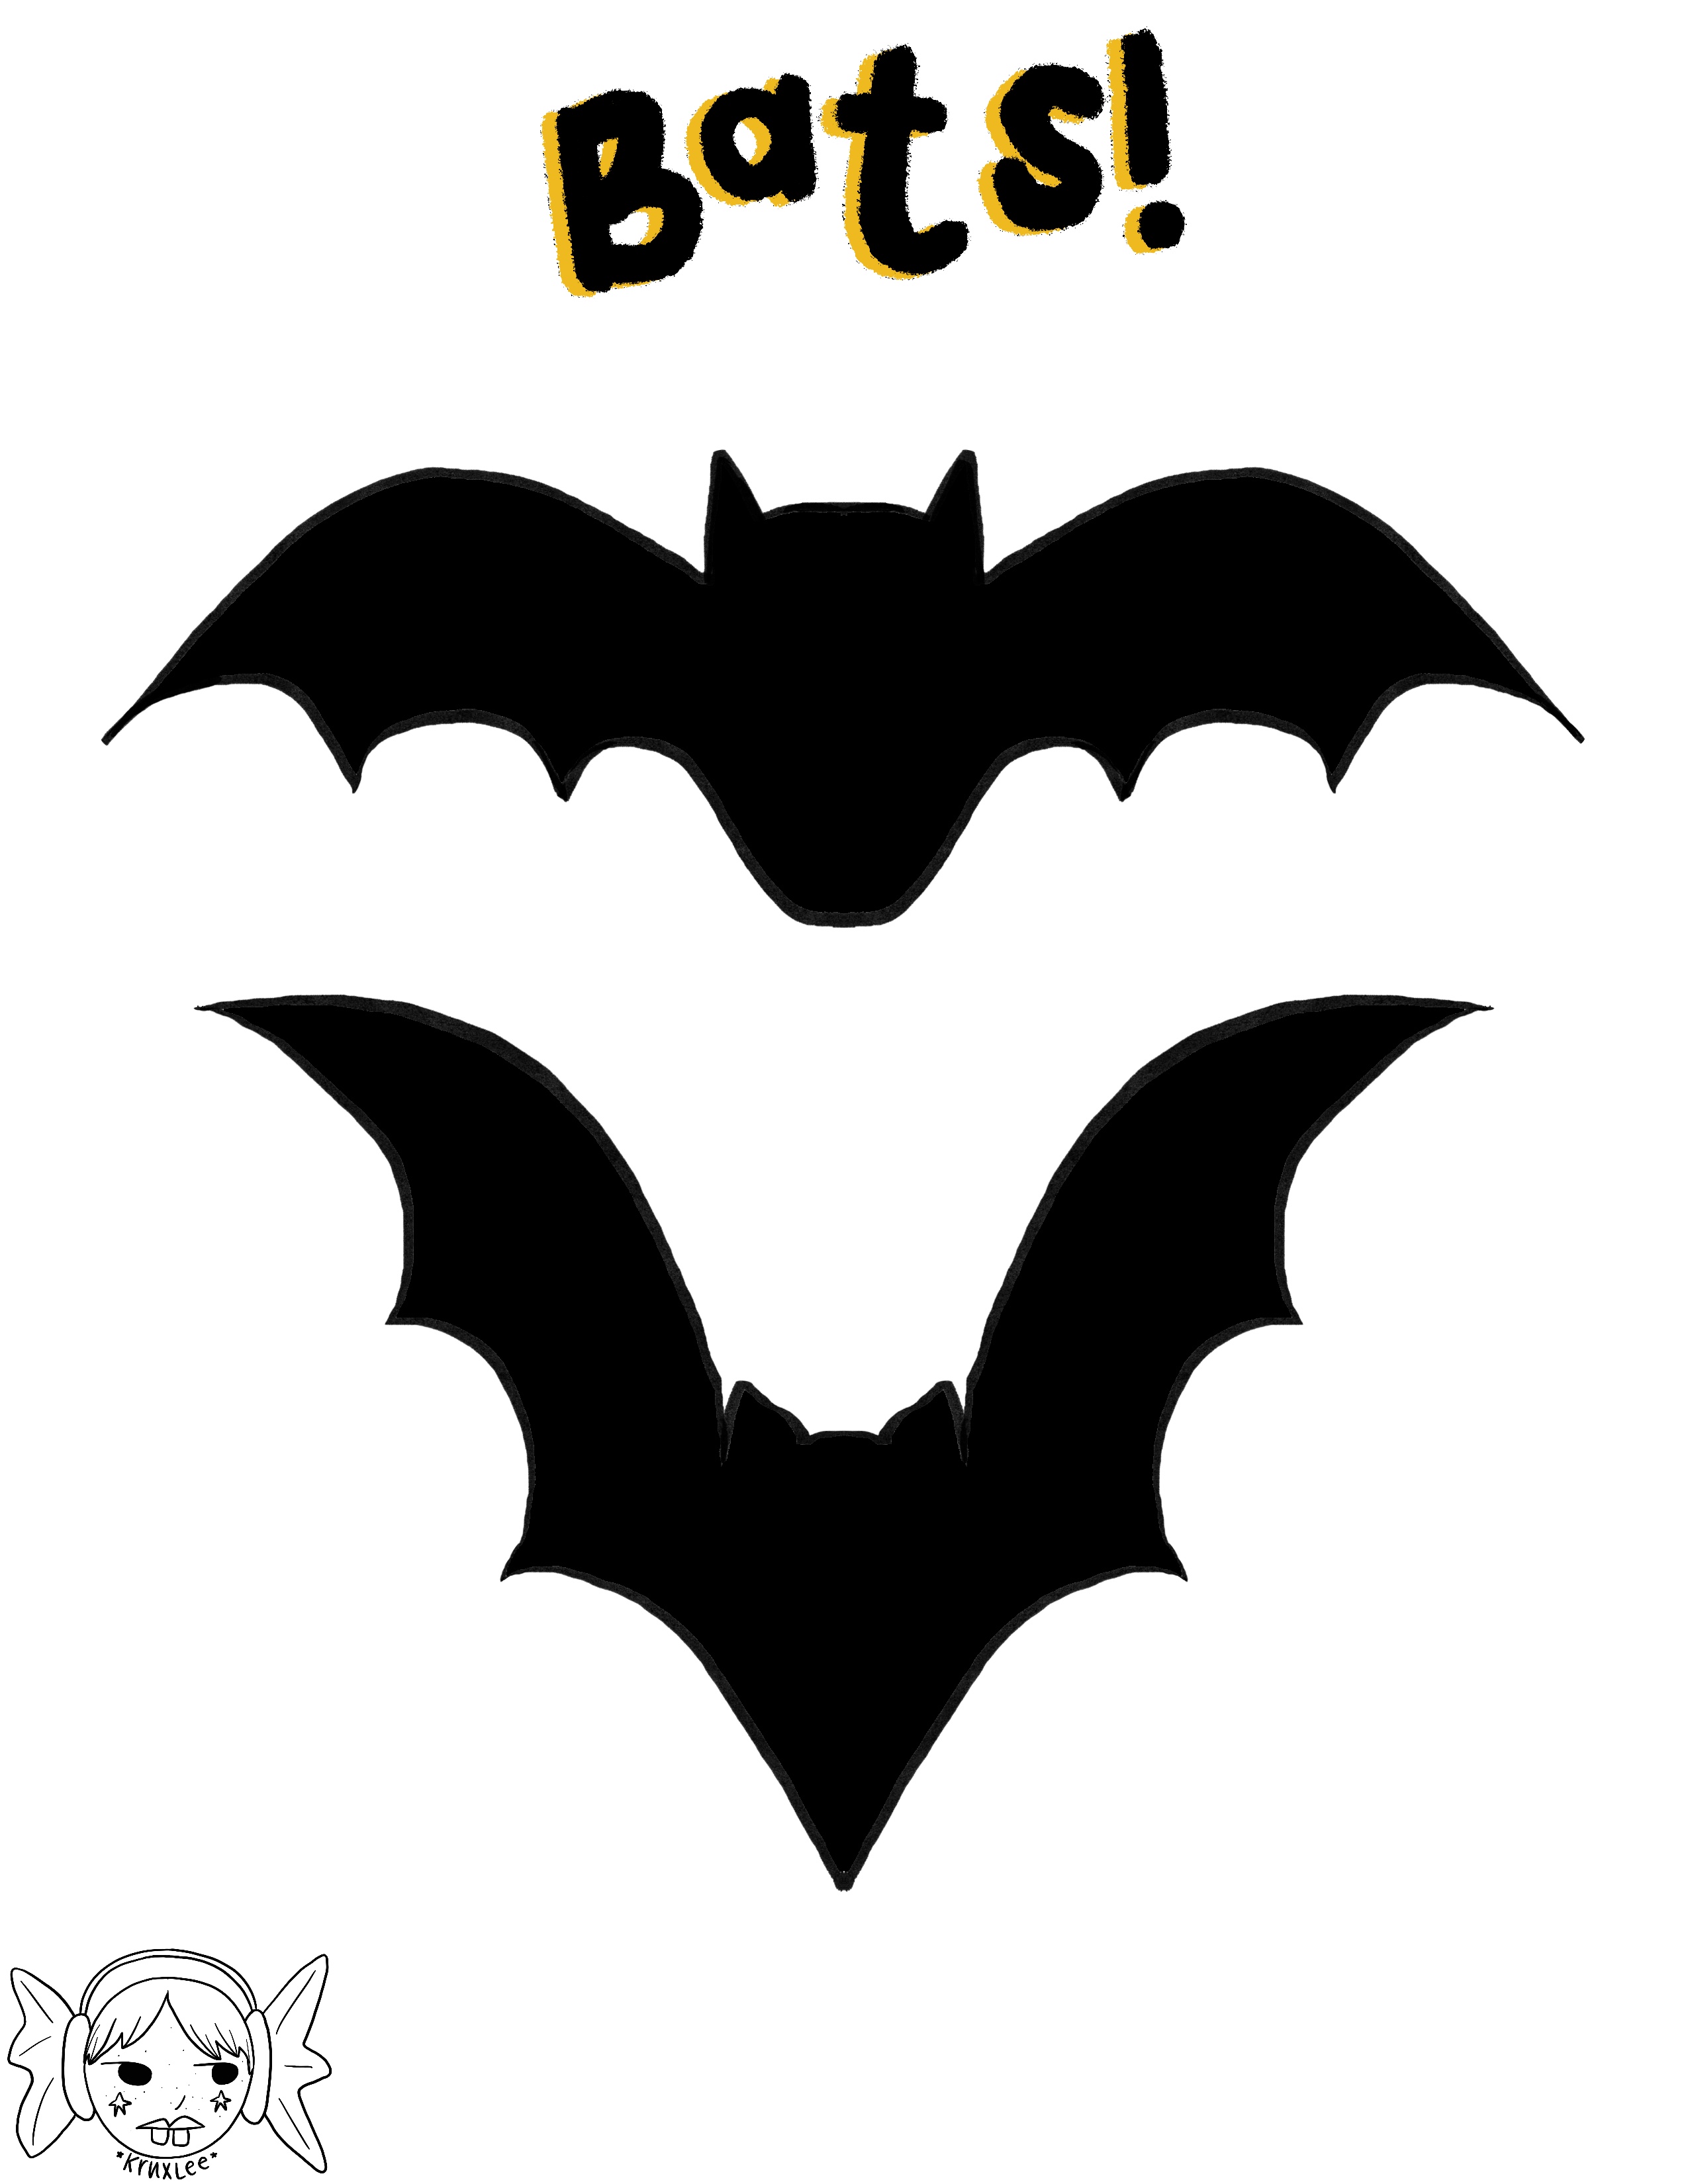
To go with this other decor, I wanted to make some vertical hanging bat garlands. I have a free template for you to use if you’d like to make your own!
What you’ll need:
- Bat template (you can download it through the link below)
- Black construction paper
- Scissors
- Yarn or twine
- Any type of glue (I used tacky glue)
Start by cutting out your bats, it’s easiest to fold your paper in half hot dog style, and trace half of the bat template onto your paper. I’d recommend using a graphite pencil so you can see the outline you made. You should be able to fit 5 bats on one sheet of normal sized paper. You’ll want to cut 2 bats that you’ll eventually glue together to become 1.
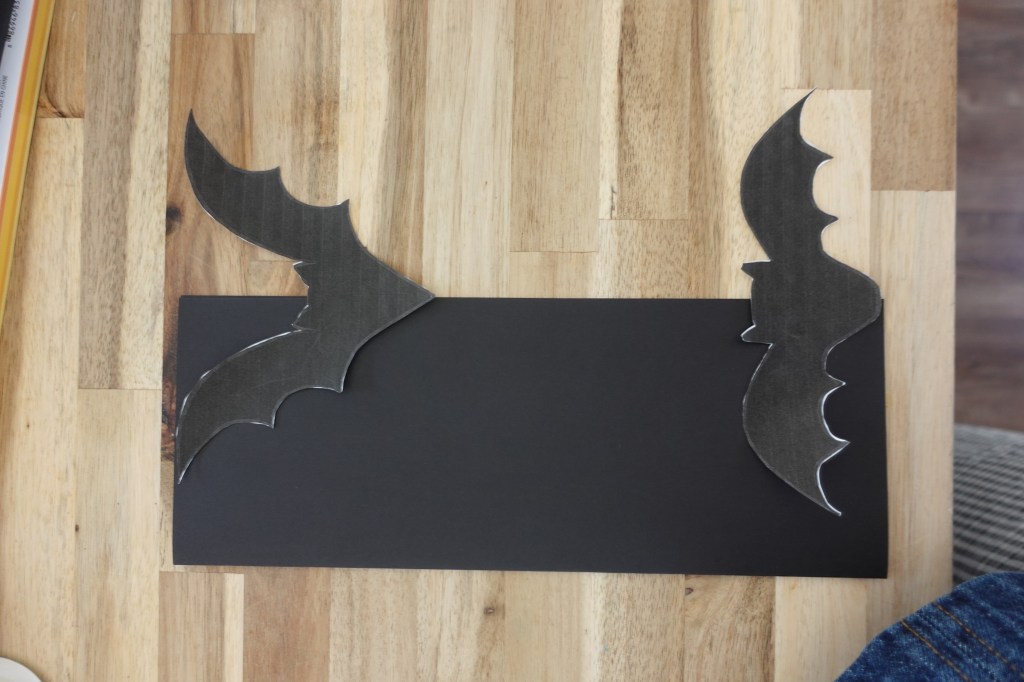
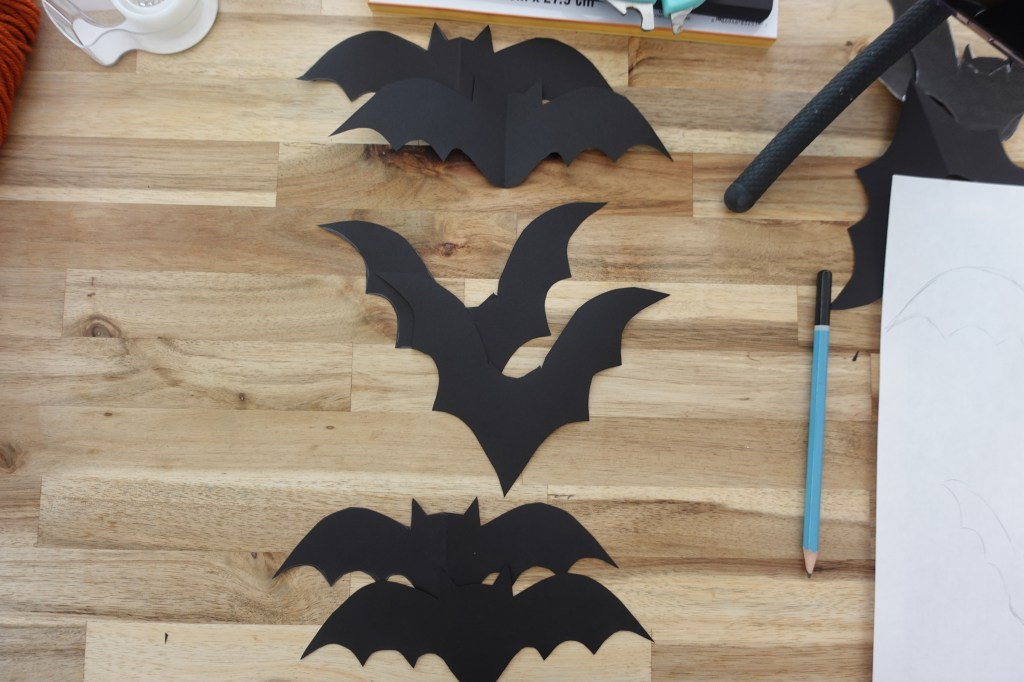
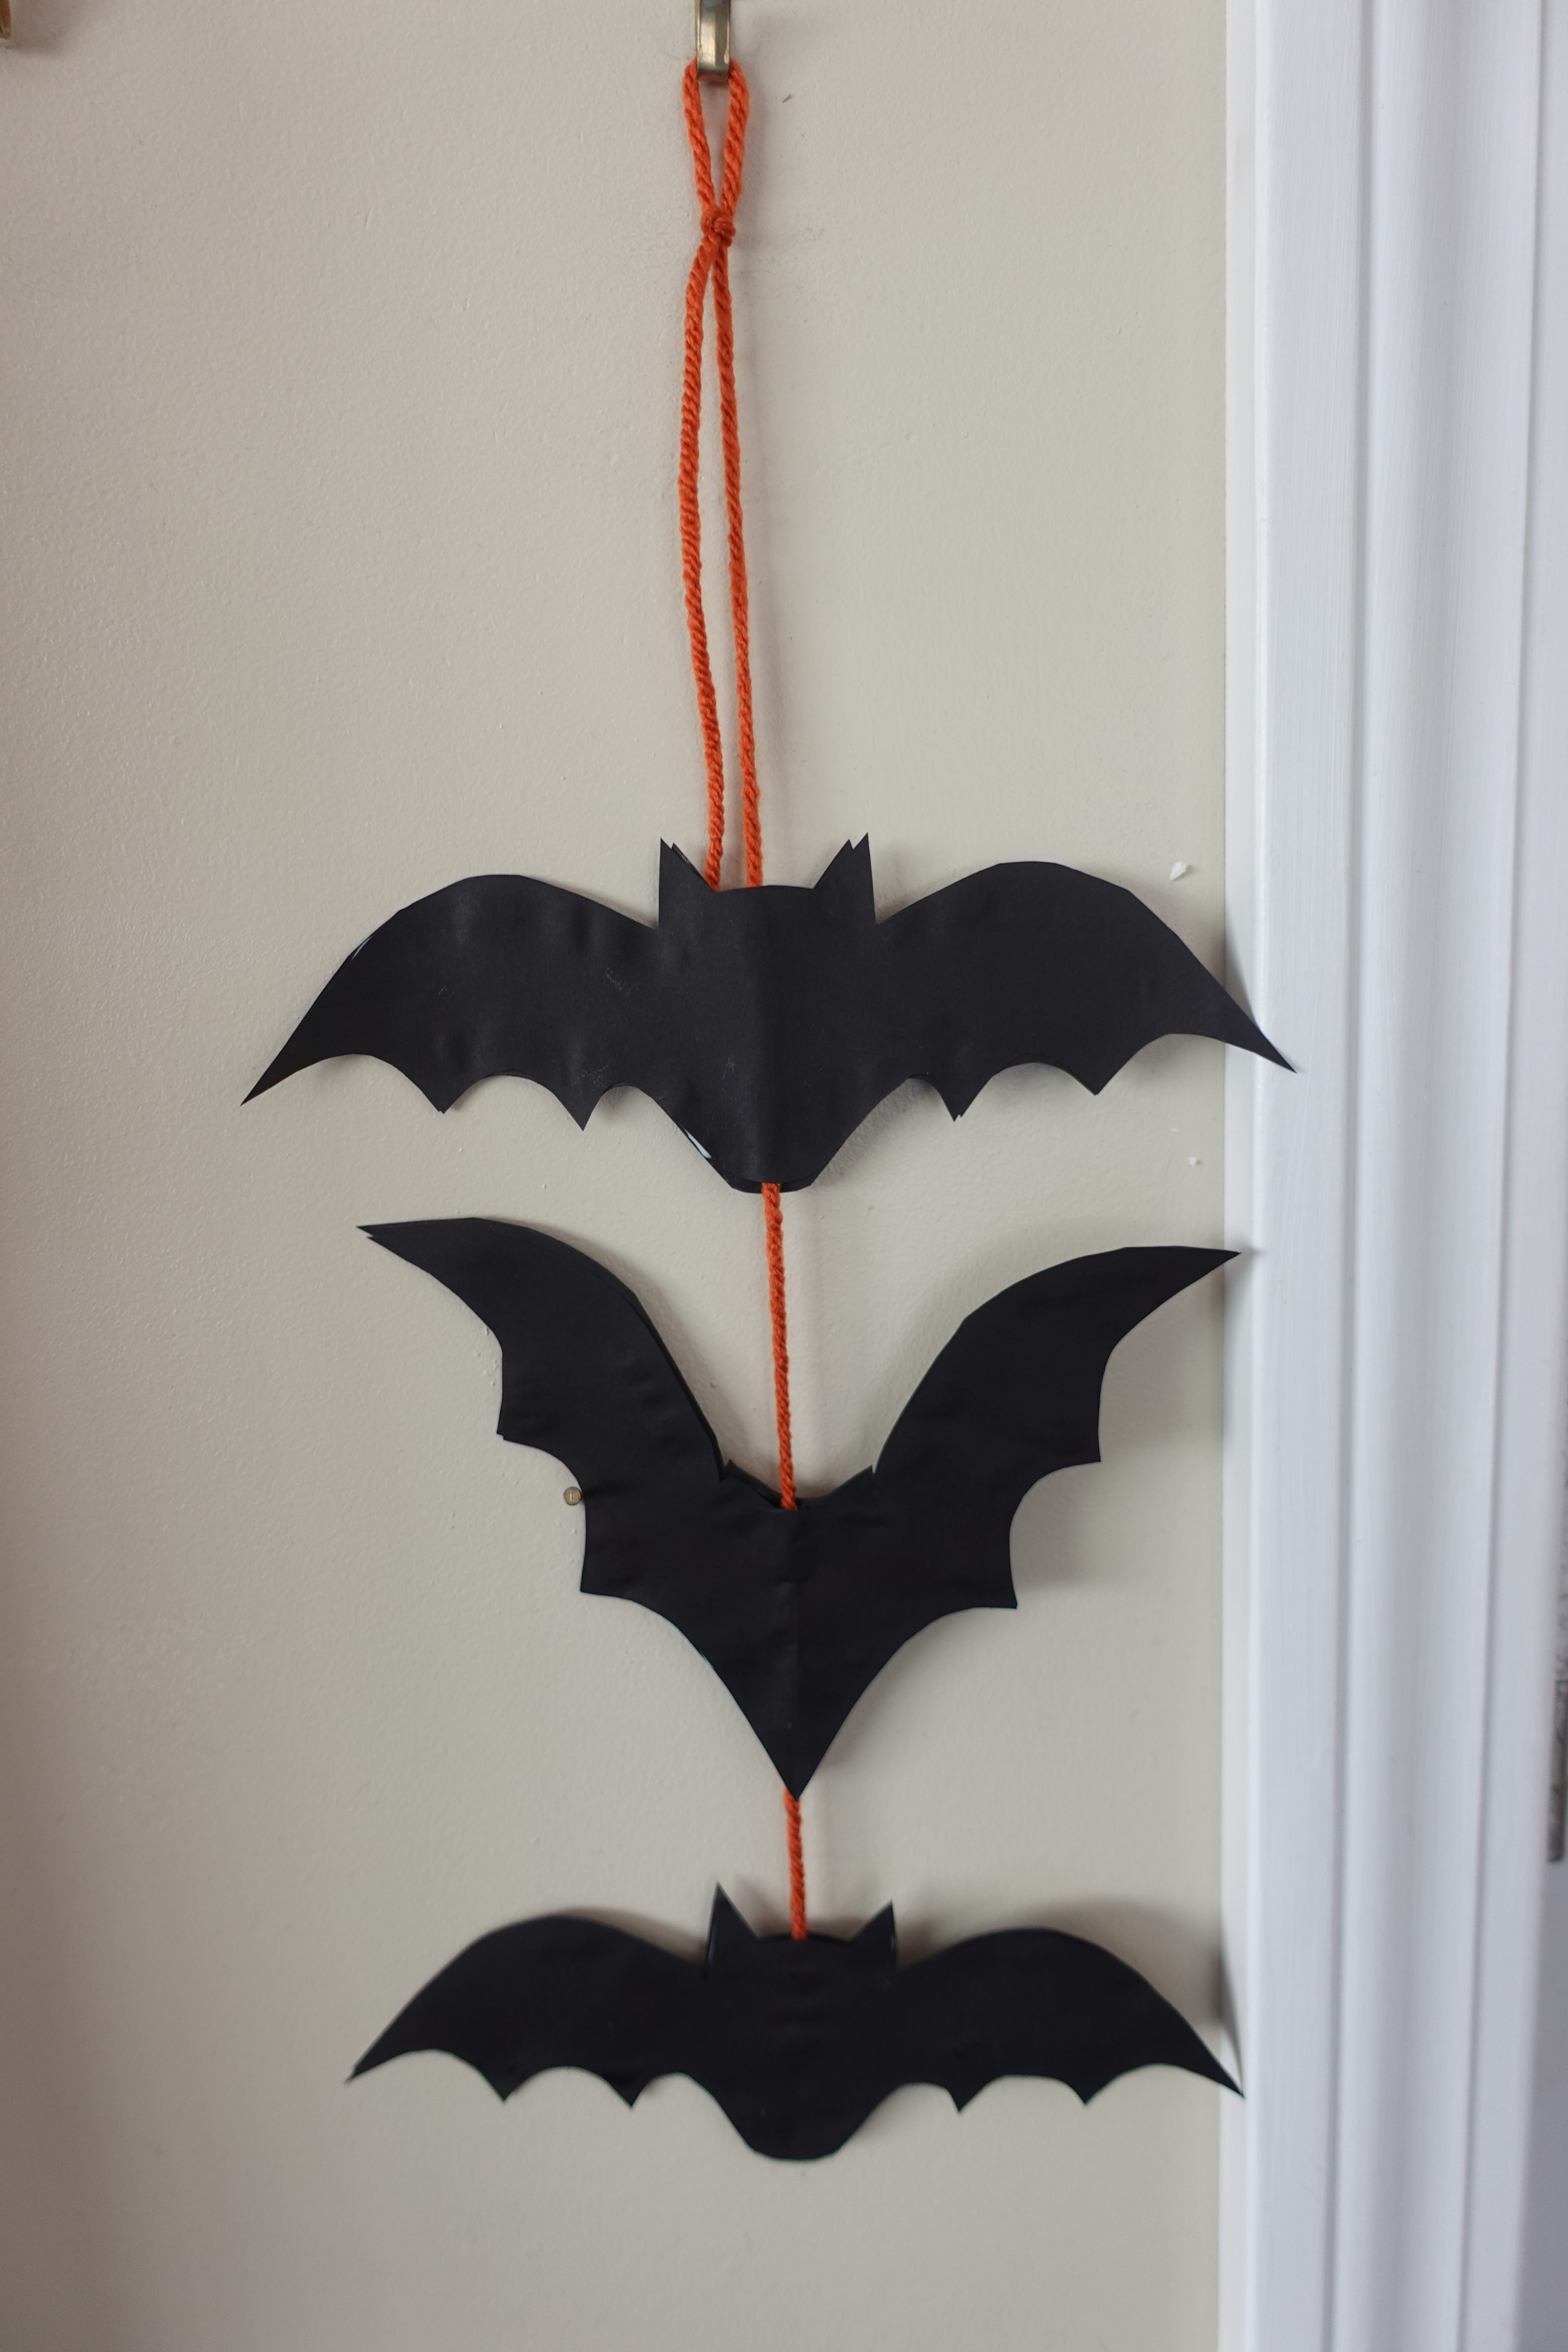
Once they’re cut out, lay them out how you want them to hang. I did sets of 3, I thought it looked like the bat was flapping it’s wings the way I had it laid out. 🙂
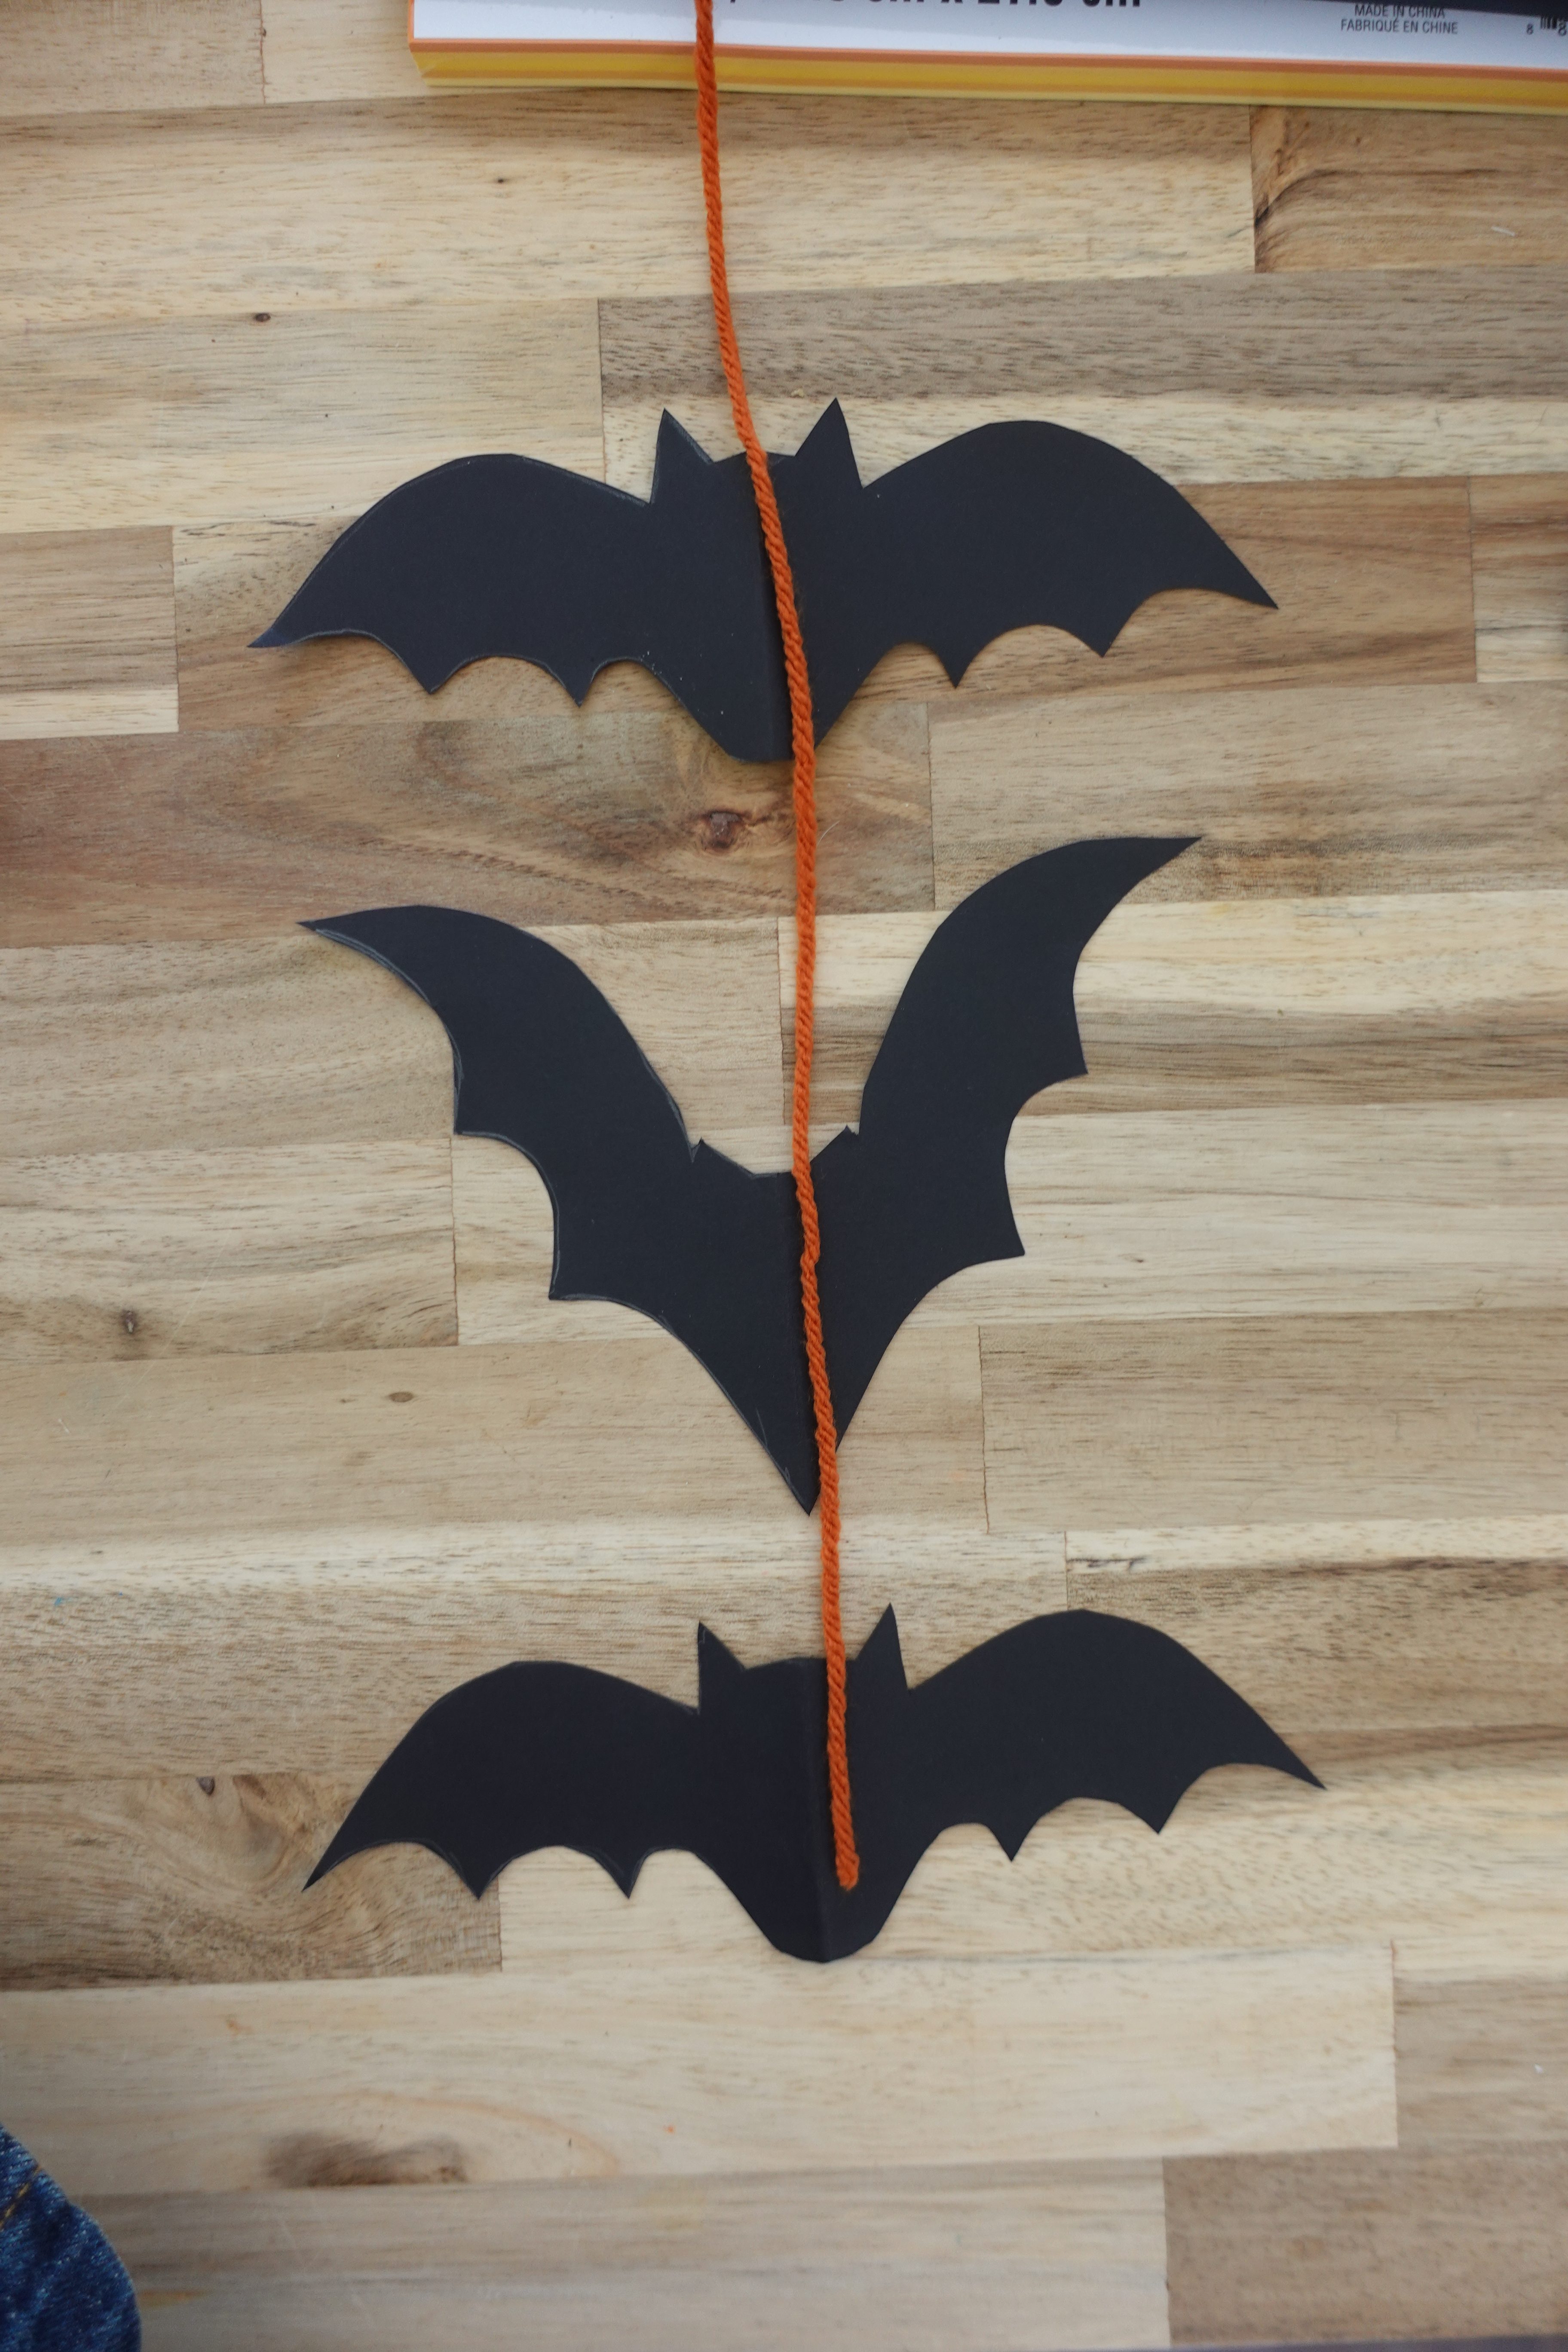
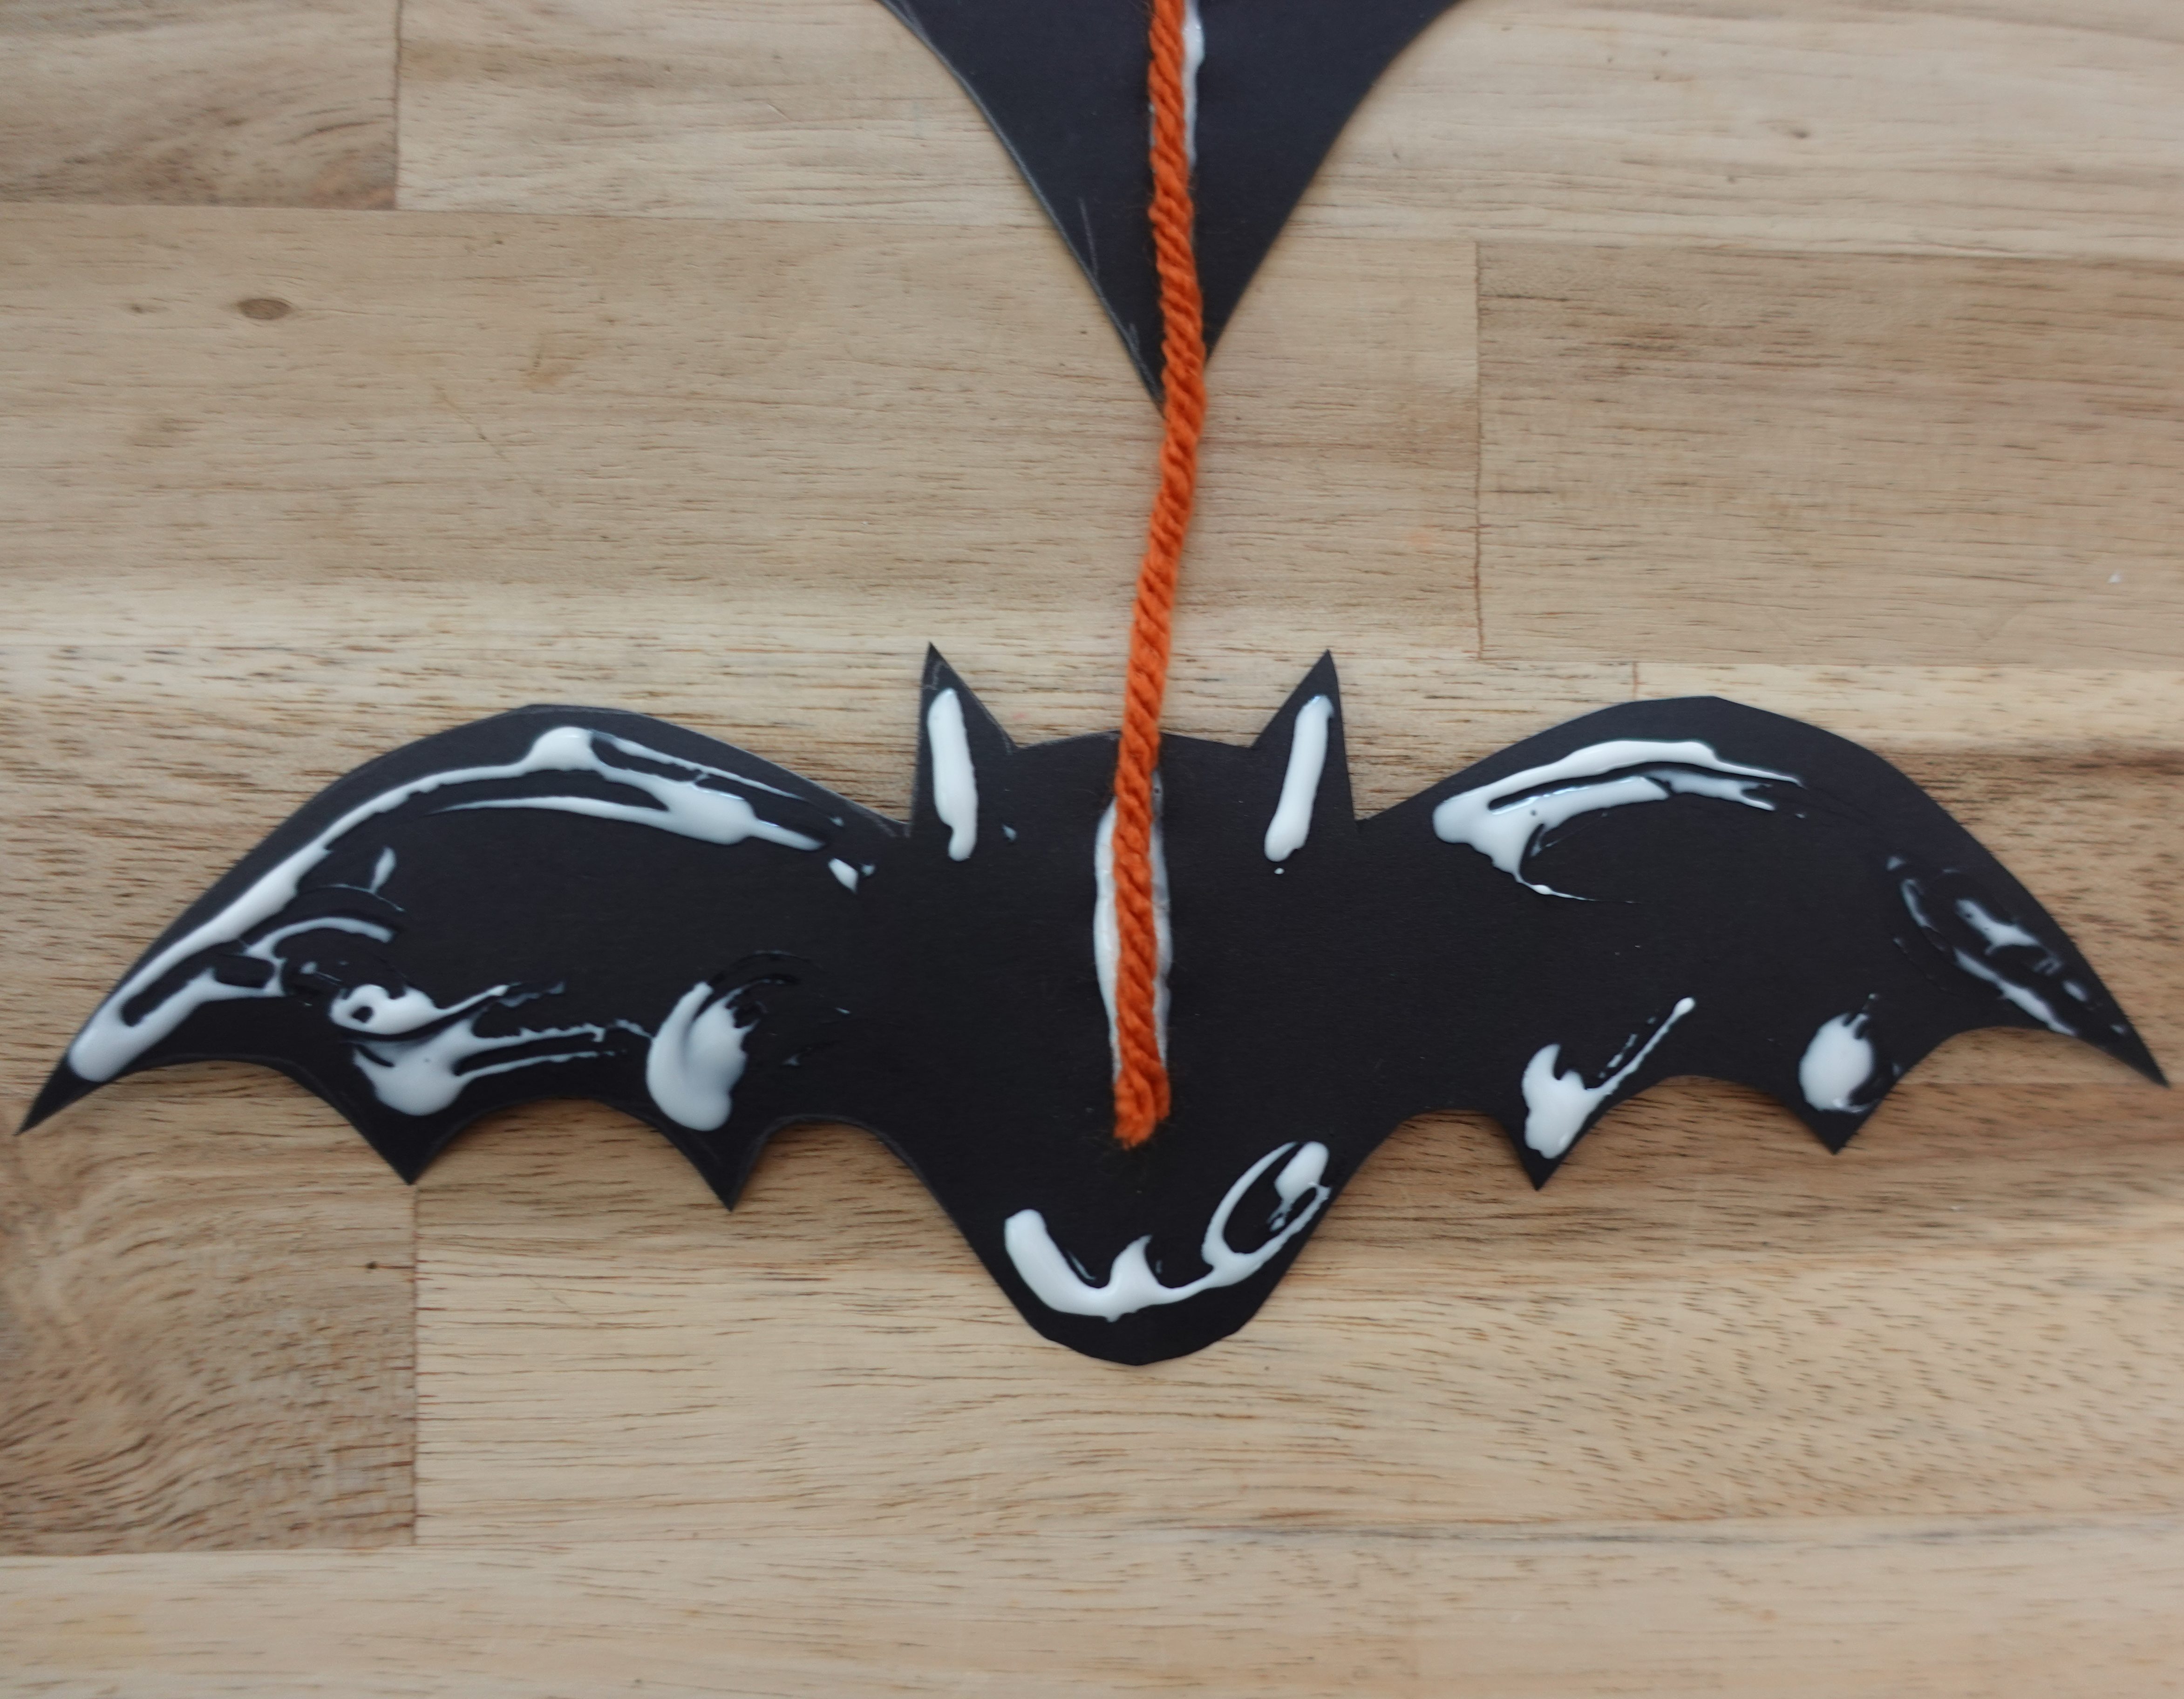
I used some leftover orange yarn from the spiderweb bunting, laid them in the middle of one cut out bat, and secured them down with tacky glue.
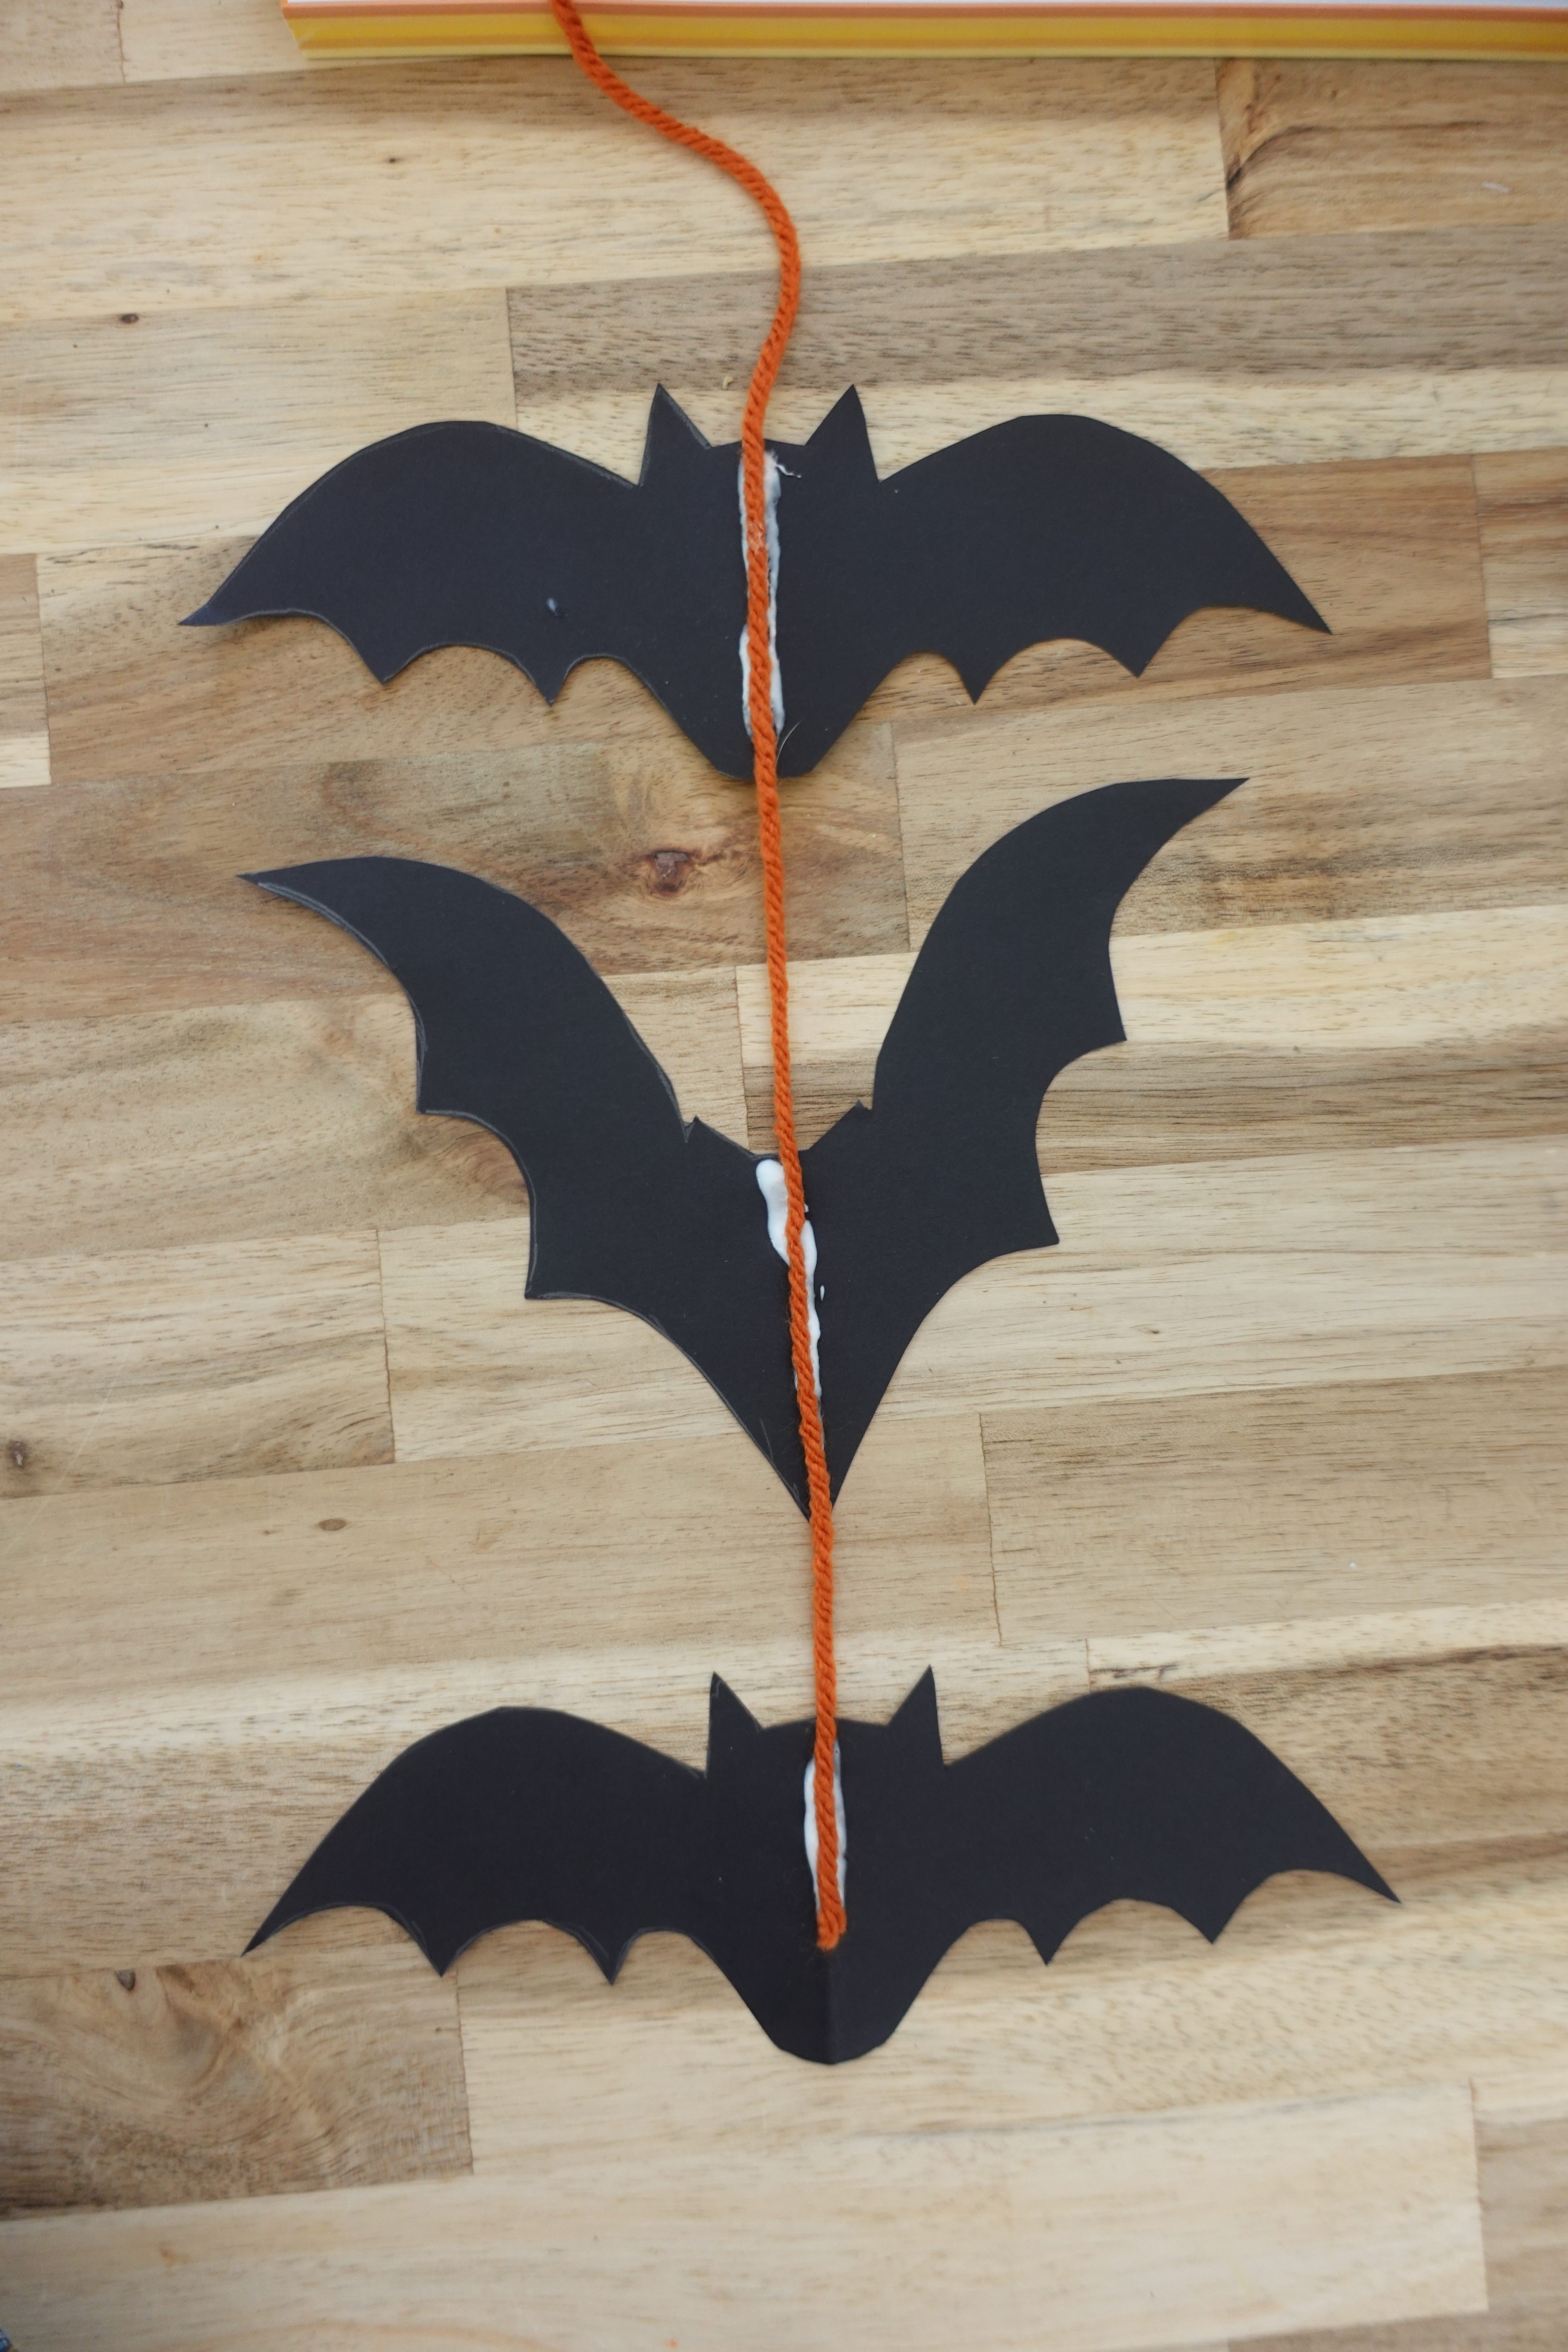
Then, I covered the bat with glue, especially in the spiky parts of the wings and the ears so they don’t come apart. Sandwich your little batties together and you’re done!
Now, Let’s Decorate!
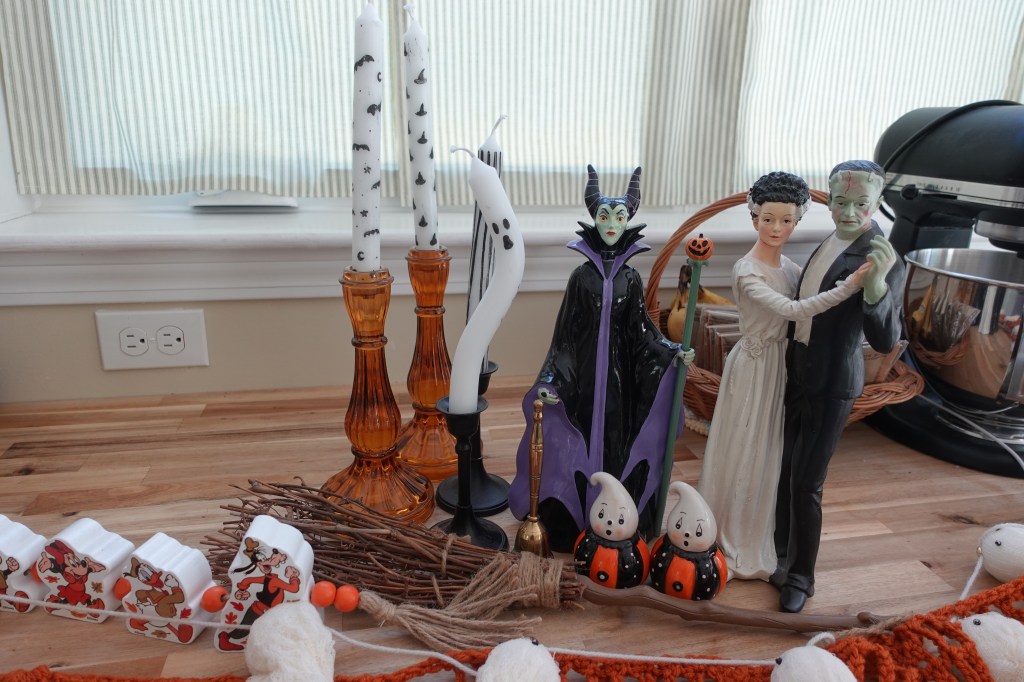
After all of these projects were made, I redecorated my kitchen windows. Our first halloween in this house was last year (2025) so I wasn’t able to get much or do much decorating for the holidays. I really wanted to make this window festive this year. I dug out my halloween decorations I had already had, here’s what I started with…
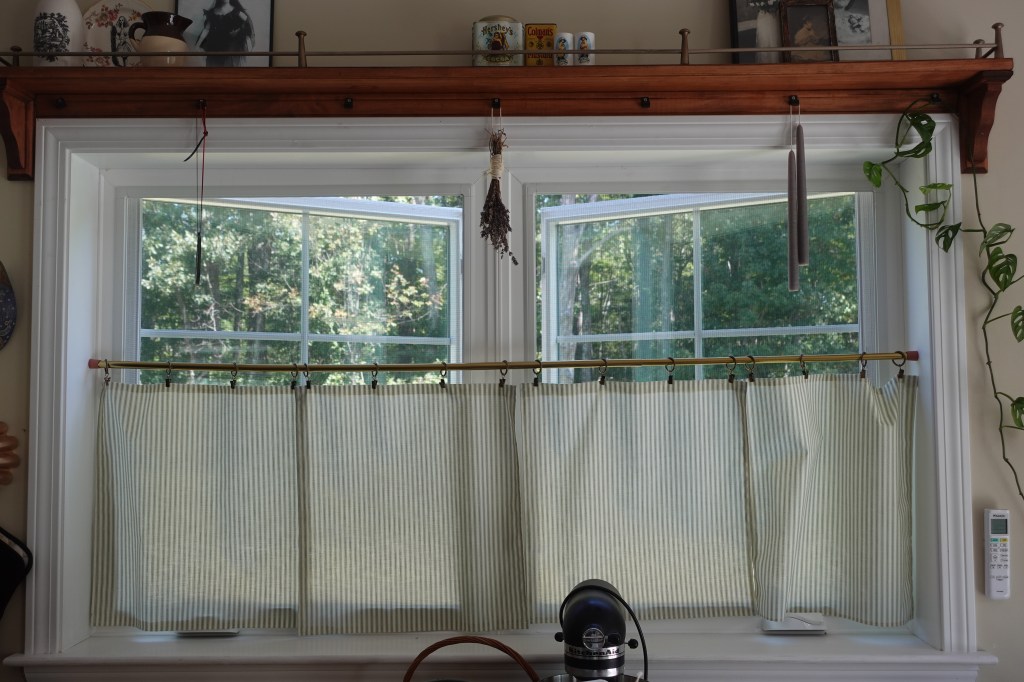
And here’s how the window was looking before I decorated it…
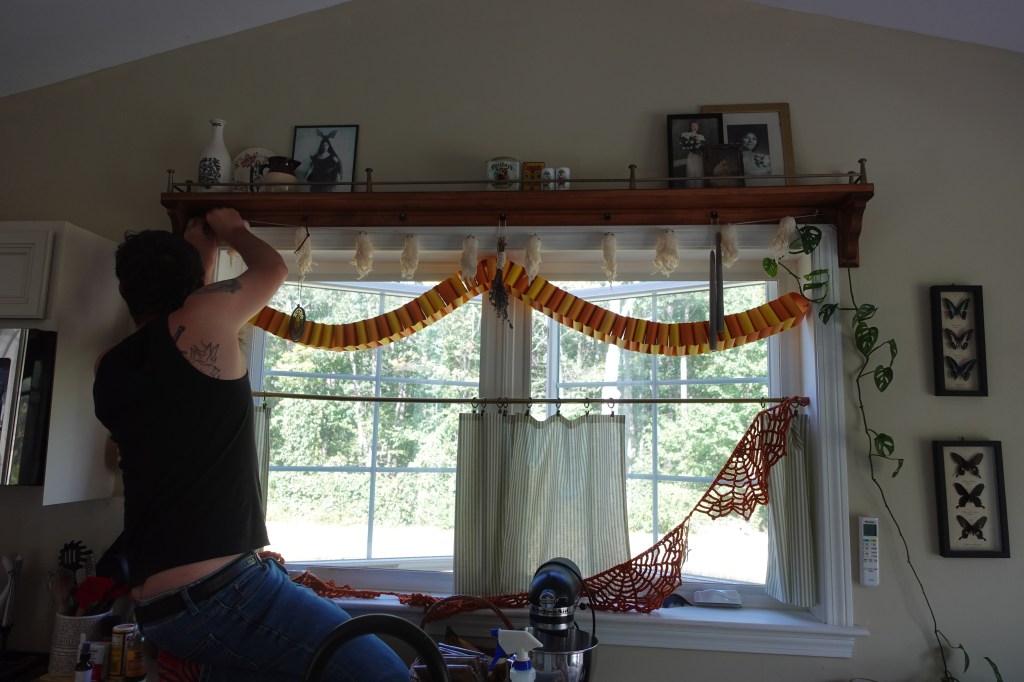
With the help of my husband, we hung up the garlands first. I made a chunky paper chain that is actually my favorite part of this entire display. I can’t wait to make one for Christmas. I ended up only using 2 of the 3 bat garlands I made.
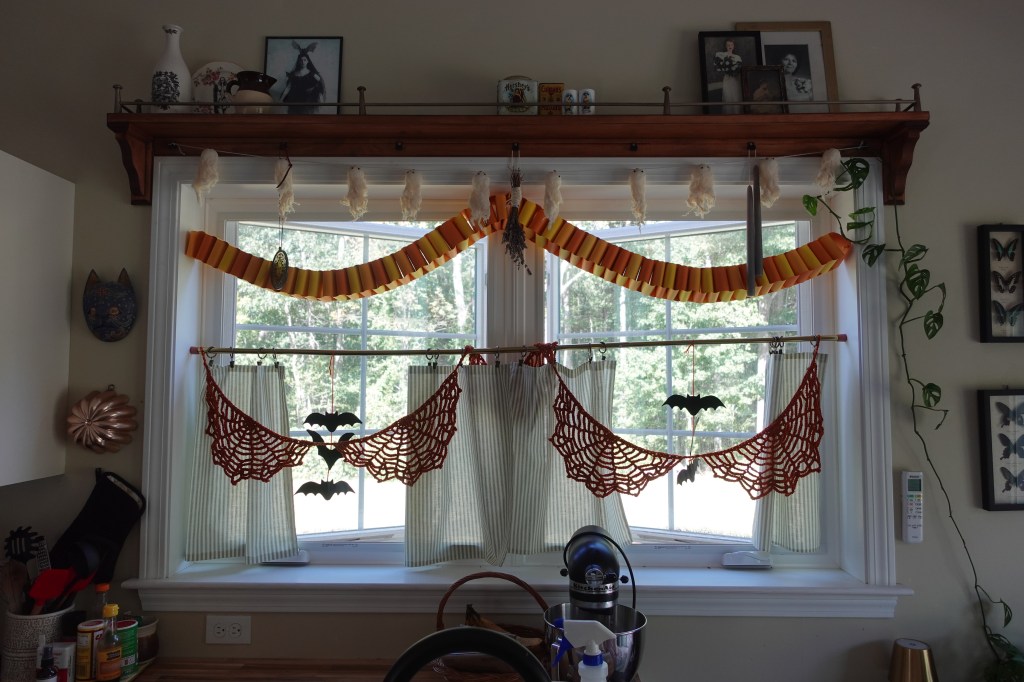
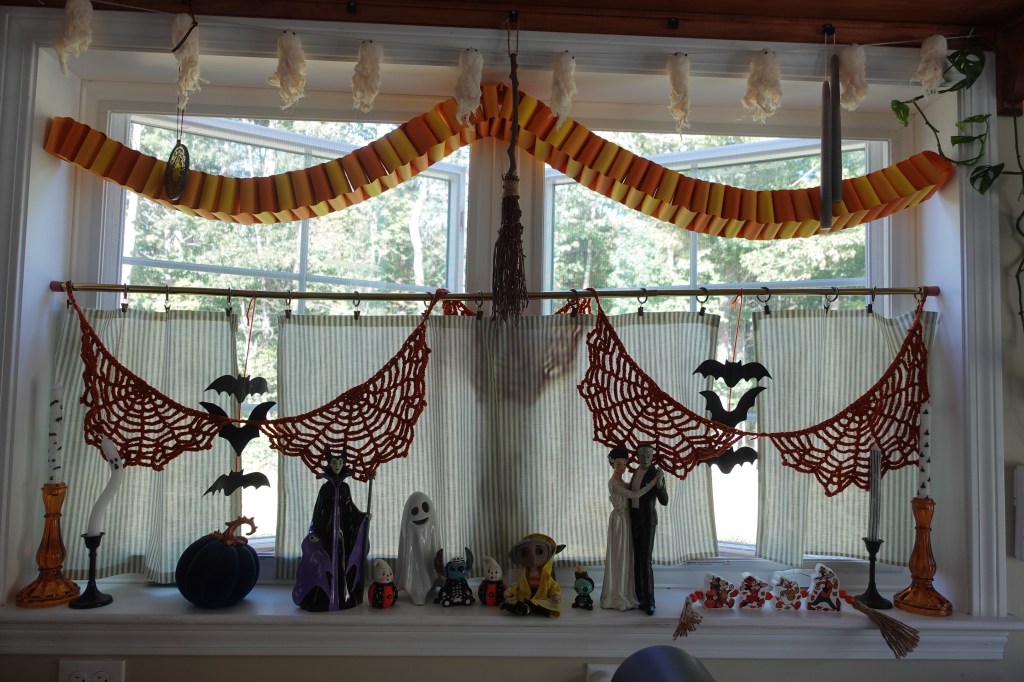
Next was candlesticks, and everything else I had on hand.
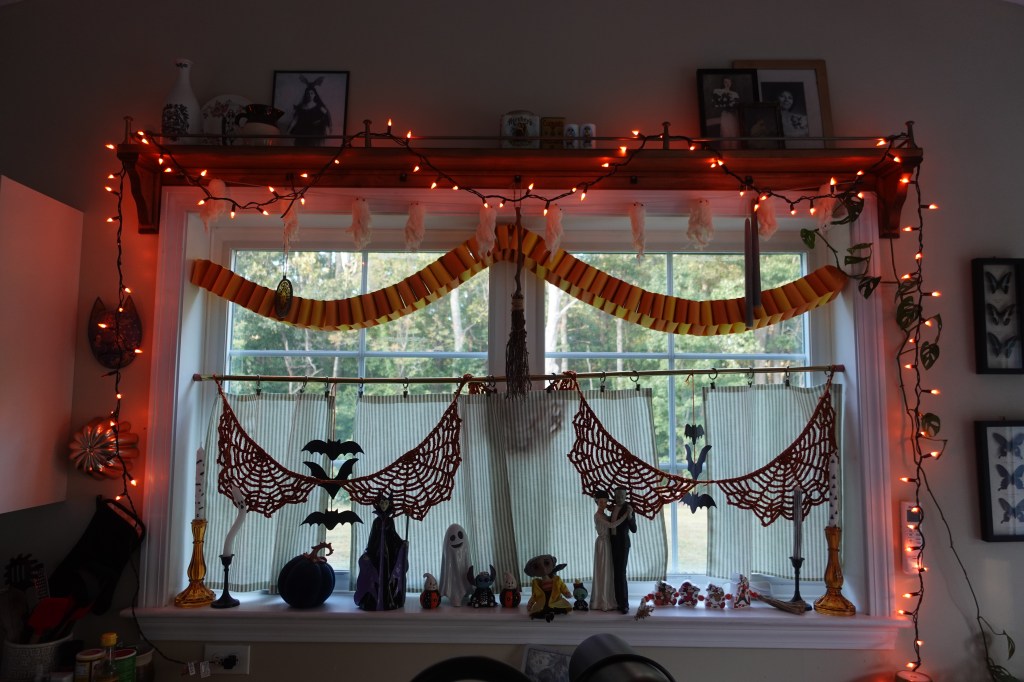
Finally, my husband found some orange lights that he had stashed away, so we draped those over the shelf above the window and voila! A cozy, fall and halloween window display!
Stay tuned for more halloween decor and DIYs. I’m currently working on our costumes as we are headed to the Salem Night Faire in October!!! I am extremely excited to go and experience it for the first time, I’m a huge fan of the Murray brothers and the Black Veil Tattoo shop.
I hope you enjoyed these projects, if you end up making any of them, please tag me on instagram or TikTok. 🙂
Love,
Kruxlee
 kruxlee's craft table
Leave a comment